DIY Hair Masks for Curly Hair
Introduction
Curly hair is absolutely gorgeous —but let’s be honest, it’s also unpredictable. One day, your curls are bouncy and full of life, and the next, they’re a dry, frizzy tangle that just won’t behave. Unlike straight hair, curls crave extra moisture and a little more care. And while those high-end curl creams, salon treatments, and deep conditioners can work wonders, they can also drain your wallet pretty quickly. That’s where homemade DIY hair masks for curly hair come into play.
DIY hair masks can deliver fantastic results using ingredients you likely already have in your pantry. No need for fancy packaging or artificial scents—just wholesome, nourishing ingredients that your curls will love. Plus, you can customize each recipe to suit your hair’s mood—whether it’s feeling dry, lackluster, frizzy, or in desperate need of some protein.
In this post, we’ll explore the science-backed benefits of DIY hair masks, highlight key ingredients that tackle common curl issues, and guide you through some simple, effective recipes. By the time you’re done reading, you’ll be all set to treat your curls right without emptying your wallet or loading them up with harsh chemicals.
Benefits of DIY Hair Masks for Curly Hair
When it comes to caring for your curly hair, incorporating DIY hair masks into your routine is not only simple but also budget-friendly. You can use common kitchen items to make hair treatments that meet your curls’ needs.
Nourishment Without Harsh Chemicals
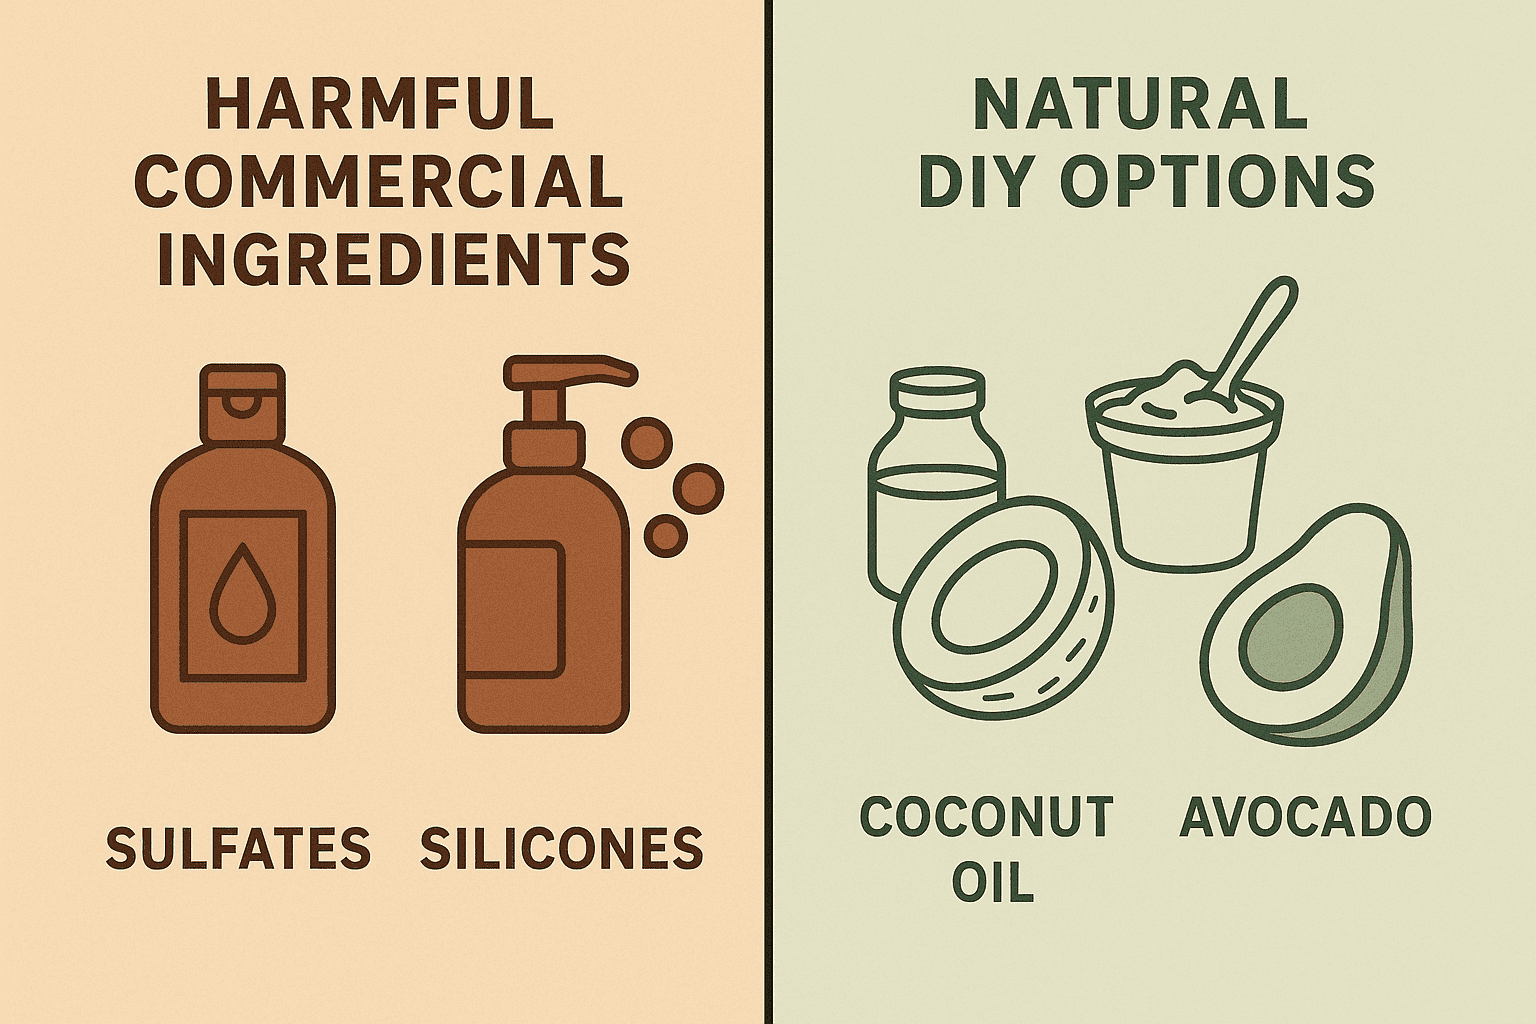
Many commercial products designed for curly hair are packed with silicones, sulfates, and alcohols. While they may provide quick fixes, they often end up drying out your curls over time. A 2021 study published in the International Journal of Trichology found that using sulfate-based shampoos regularly can significantly reduce scalp hydration and lead to more frizz in curly hair types.
On the other hand, DIY masks are made with ingredients you can easily recognize—like coconut oil, bananas, and eggs—rather than unpronounceable chemicals. That’s genuine nourishment without any compromises.
Customization for Your Unique Curl Pattern
Every curl pattern is unique, and that’s where DIY hair masks shine. They allow you to customize your hair care by adjusting the ingredients and textures to suit your specific needs. This personalization is key to maintaining healthy, vibrant curls.
Budget-Friendly Beauty: Save Money on Hair Care
Creating your own hair masks is a more economical option compared to splurging on pricey products. With common kitchen ingredients, you can craft effective treatments that not only save you money but also help reduce waste. It’s a win-win for both your wallet and the environment, allowing you to care for your hair without overspending.
Reducing Product Buildup
Many store-bought masks and creams tend to coat your hair with heavy butters or synthetic sealants, which can lead to buildup over time, weighing down your curls. Natural masks, however, rinse out more cleanly, especially when you steer clear of silicones and waxes.
Key Ingredients for Moisture and Definition
Natural Oils
Coconut Oil
This oil is a standout because it actually penetrates the hair shaft. Research published in the Journal of Cosmetic Science shows that coconut oil can help reduce protein loss in both damaged and healthy hair. It’s fantastic for deep hydration and making your hair feel soft.
Olive Oil
Packed with oleic acid and antioxidants, olive oil is great for keeping moisture in and adding that lovely softness. Plus, it has anti-inflammatory properties that can soothe a dry or itchy scalp.
Argan Oil
This Moroccan gem is rich in vitamin E and essential fatty acids. It boosts elasticity and tames frizz without weighing your hair down—perfect for defining those curls.
Humectants and Conditioners
Honey
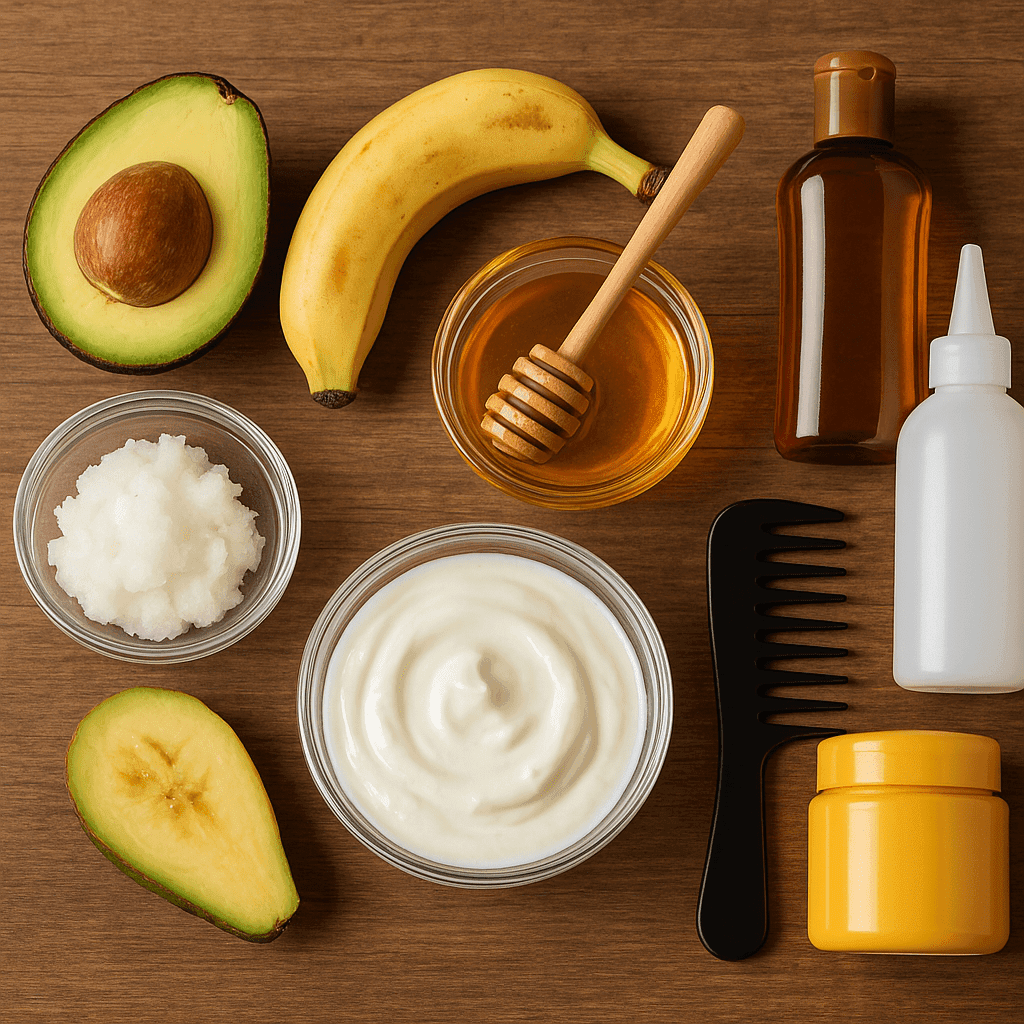
As a natural humectant, honey pulls moisture from the air into your hair. It also has antimicrobial properties that are great for maintaining a healthy scalp.
Aloe Vera
Loaded with enzymes and amino acids, aloe vera calms the scalp and helps define curls. It’s lightweight, making it perfect for those with looser curl types.
Yogurt
Full of protein and lactic acid, yogurt smooths the hair cuticle and strengthens the shaft, which is especially important for curls that have been over-processed or damaged by heat.
Add-Ins and Boosters
Avocado
Rich in biotin, magnesium, and vitamins A, D, and E, avocado is perfect for repairing damage and bringing back that shine.
Banana
Bananas add slip and soften curls. They contain silica, which helps strengthen hair and improve elasticity.
Eggs
A fantastic source of protein, eggs strengthen hair structure and enhance bounce. Just be careful—too much protein can lead to dryness.
Essential Oils (Lavender, Peppermint)
Not only do these oils make your hair smell incredible, but they also stimulate circulation and promote a healthy scalp.
Best DIY Hair Mask Recipes for Curly Hair
Hydrating Coconut & Honey Mask
Perfect for: Dry, brittle curls
Ingredients:
2 tablespoons coconut oil
1 tablespoon honey
Instructions:
1. Gently warm the coconut oil until it turns liquid (but don’t let it get hot!).
2. Stir in the honey until it’s all mixed together.
3. Apply the mixture to your damp hair, working in sections.
4. Cover with a shower cap and leave for 30–45 minutes.
5. Rinse it out with lukewarm water and follow up with a gentle conditioner.
Use: Once a week
Tip: If your hair has low porosity, try applying this mask after steaming or wrapping your hair in a warm towel to help those oils soak in better.
Avocado & Olive Oil Repair Mask
Perfect for: Damaged or over-processed hair
Ingredients:
- ½ ripe avocado
- 2 tablespoons olive oil
- 1 egg yolk (optional for extra protein)
Instructions:
- Mash the avocado until it’s nice and smooth.
- Mix in the olive oil and egg yolk.
- Apply the mixture from the mid-lengths to the ends of your hair.
- Cover your hair and let it sit for 30–40 minutes.
- Rinse thoroughly with cool water.
Use: Every 2 weeks for protein balance
Tip: Make sure your avocado is ripe for easier blending—nobody wants a lumpy mask that’s tough to rinse out!
Yogurt & Banana Frizz Tamer
Perfect for: Frizz-prone curls needing smoothness and shine
Ingredients:
1 ripe banana
2 tablespoons plain yogurt
1 tablespoon honey
Instructions:
1. Blend all the ingredients until you get a creamy consistency.
2. Apply it to clean, damp hair.
3. Let it sit for 20–30 minutes.
4. Rinse well and detangle with your fingers.
Use: Weekly
Tip: If your banana mixture isn’t blended well, be sure to strain it to avoid any chunks getting stuck in your curls.
Aloe Vera & Argan Oil Definition Mask
Perfect for: Curl definition and clumping
Ingredients:
- 2 tablespoons aloe vera gel (pure, no alcohol)
- 1 tablespoon argan oil
- 2–3 drops lavender essential oil (optional)
Instructions:
- In a bowl, mix the ingredients until you achieve a smooth consistency.
- Apply the mixture to slightly damp hair, working in sections.
- Cover your hair and let it sit for 20–25 minutes.
- Rinse gently and follow up with a leave-in conditioner.
Use: Every 1–2 weeks
Follow-Up Tip: After rinsing, use a curl cream or a light gel to help maintain your curl shape.
Mask Application Mastery: Getting the Most from Your Treatment
If you want to truly benefit from your DIY hair masks, knowing how to apply them is essential. The right application technique can significantly enhance your hair care results.
Pre-Application Preparation Steps
Before you start, make sure your hair and mask are ready to go. Gently detangle your curls using a wide-tooth comb or your fingers. This step ensures the mask spreads evenly. Next, mix your mask according to the recipe and let it sit at room temperature for easier application.
Application Techniques for Maximum Benefits
Apply the mask from roots to ends, massaging it in to stimulate blood flow. A wide-tooth comb or a silicone brush can help distribute it evenly. If your hair is particularly dry or damaged, don’t hesitate to apply extra mask to those areas.
Using heat to Boost Absorption
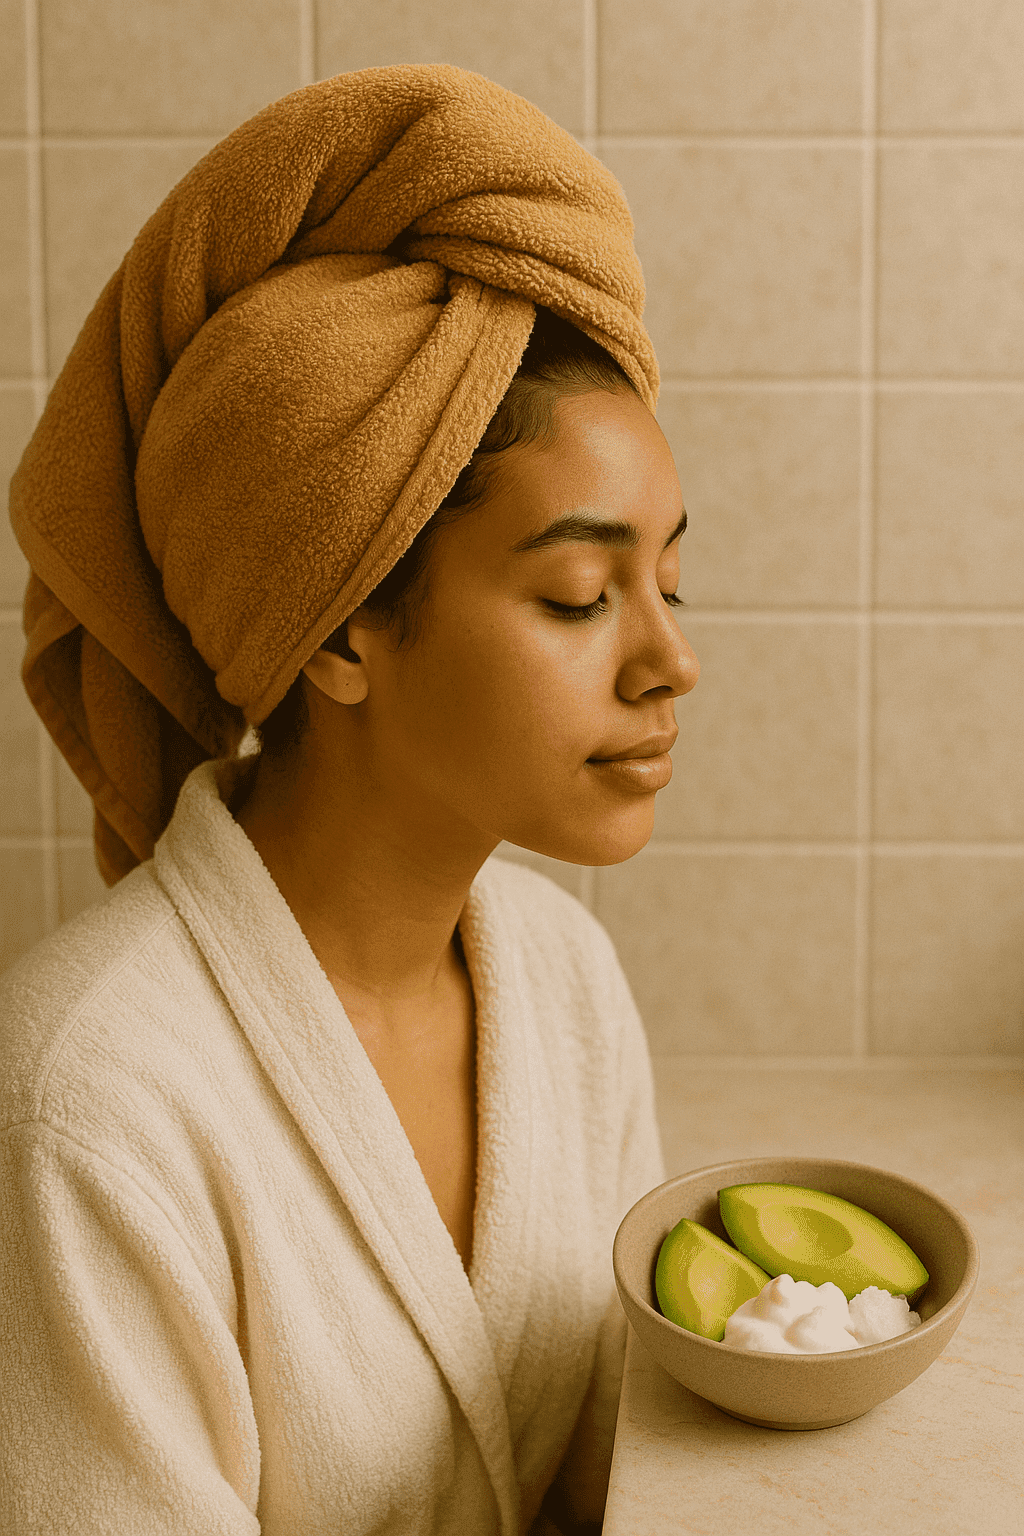
Applying heat can help open up your hair cuticle, allowing the mask to penetrate more deeply. You can use a warm towel, a hair steamer, or even a shower cap with a low-heat dryer. Just be careful not to overheat, as that can damage your hair.
Proper Rinsing Methods for Clean, Defined Curls
Rinsing out your hair mask thoroughly is crucial to prevent buildup. Use lukewarm water and gently massage your scalp. Finish off with a cool rinse to seal the cuticle and add some shine.
By mastering these application techniques, you can significantly elevate your DIY hair mask experience, leading to healthier, more vibrant curls.
Mistakes to Avoid With DIY Hair Masks
- Overdoing Protein or Oil: Finding the right balance is crucial. Too much protein can make your hair feel stiff, while excessive oil can lead to buildup.
- Neglecting to Rinse: Always rinse thoroughly—even natural ingredients can attract dust if left on.
- Applying to Dirty Hair: Oil combined with dirt equals buildup. A light wash before masking is a good idea.
- Skipping the Patch Test: Even natural ingredients can cause reactions, so it’s wise to test a small area first.
- Over-Masking: Sometimes, more isn’t necessarily better. Pay attention to your curls.
Conclusion
Managing curly hair can be a challenge, but it’s also incredibly rewarding. DIY hair masks can truly bring out the best in your curls. They provide natural moisture, steer clear of harsh chemicals, and are budget-friendly too.
The secret lies in choosing the right ingredients. Moisture-packed options like avocado and honey, along with protein-rich choices like eggs and Greek yogurt, can work wonders for your curls. Don’t forget about natural oils like coconut and olive oil—they’re fantastic helpers. By mixing these ingredients, you can create a personalized hair care routine that suits your needs perfectly. You can also check out this article on The Best Natural Hair Care Routine.
Don’t be afraid to experiment with new recipes and ingredients. With a little patience and creativity, you can achieve healthier, more vibrant curls. Embracing natural hair care tips and techniques will help you reach the curls you’ve always dreamed of.
FAQs About DIY Hair Masks for Curly Hair
How often should I use a DIY hair mask?
The frequency of using hair masks really depends on your curl type. Tighter curls usually need more moisture, while looser curls might not need as much.
Are DIY masks safe for color-treated curly hair?
Absolutely, as long as you steer clear of citrus and strong acids. Focus on hydrating, gentle ingredients.
Can I leave a hair mask on overnight?
It’s not the best idea unless it’s a lightweight mask (like aloe or argan). Heavier oils can irritate your scalp.
Do I apply hair masks to wet or dry hair?
Damp hair is ideal—it helps the mask spread evenly and allows for better absorption.
How can I store leftover hair masks?
Use them within 2–3 days. Keep them in an airtight container in the fridge. Just a heads up—egg-based masks spoil faster.
Why does my hair feel greasy after a mask?
You might have used too much oil or didn’t rinse it out thoroughly. A mild cleanser can help if needed.
Which ingredients should people with allergies avoid?
Always do a patch test first. Common allergens include eggs, honey, essential oils, and dairy.
Ready to start mixing? Share your favorite combo or results below—let’s build a curl-friendly recipe library together!
