Homemade Face Masks for Oily Skin Using Kitchen Ingredients
Dealing with oily skin can be frustrating — constant shine, clogged pores, and breakouts are all too common. It happens when your sebaceous glands produce too much oil (sebum), often leading to acne. In fact, up to 80% of teens experience acne, often linked to oily skin. Instead of relying on harsh store-bought products, a homemade face masks can be a gentler solution. Ingredients like lemon juice (a natural astringent) and honey (antibacterial and hydrating) help balance oil while being kind to your skin. These masks are affordable, free from synthetic additives, and easy to make using everyday kitchen items.
Oily skin can be caused by genetics, hormones, diet, and lifestyle. High sugar and dairy intake have been linked to excess oil production. Common signs include a shiny T-zone, enlarged pores, blackheads, and pimples. While natural oils protect the skin, too much can lead to discomfort and breakouts.
To manage oily skin, avoid over-washing, harsh scrubs, and oil- or alcohol-based cleansers. Instead, look for “oil-free” and “noncomedogenic” labels. Use lightweight makeup and always remove it before bed. And yes—don’t skip moisturizer!
Key Kitchen Ingredients for Oily Skin
When it comes to skincare, here are some natural ingredients that can work wonders:
🍋 Lemon – This little fruit acts as a natural astringent and brightener. It helps to cut down on oiliness and tightens those pores. Just remember to dilute it before applying to keep your skin happy and irritation-free.
🍯 Honey – Known for its antibacterial properties, honey is also super moisturizing without leaving your skin feeling greasy. It’s great for soothing inflammation and keeping acne at bay.
🥣 Yogurt – Packed with natural lactic acid, yogurt gently exfoliates and helps balance oil levels. It’s wonderfully cooling, making it perfect for those with sensitive, oily skin.
🌿 Aloe Vera – This soothing plant calms irritation and helps reduce oil buildup. It hydrates your skin without clogging pores, making it a go-to for soothing breakouts.
🌾 Oatmeal – A fantastic option for absorbing excess oil, oatmeal also helps reduce itchiness and redness. It’s ideal for inflamed or acne-prone skin.
🌱 Tea Tree Oil – Just a few drops of this powerful oil can combat bacteria and reduce inflammation. It’s super effective, but always remember to dilute it before use.
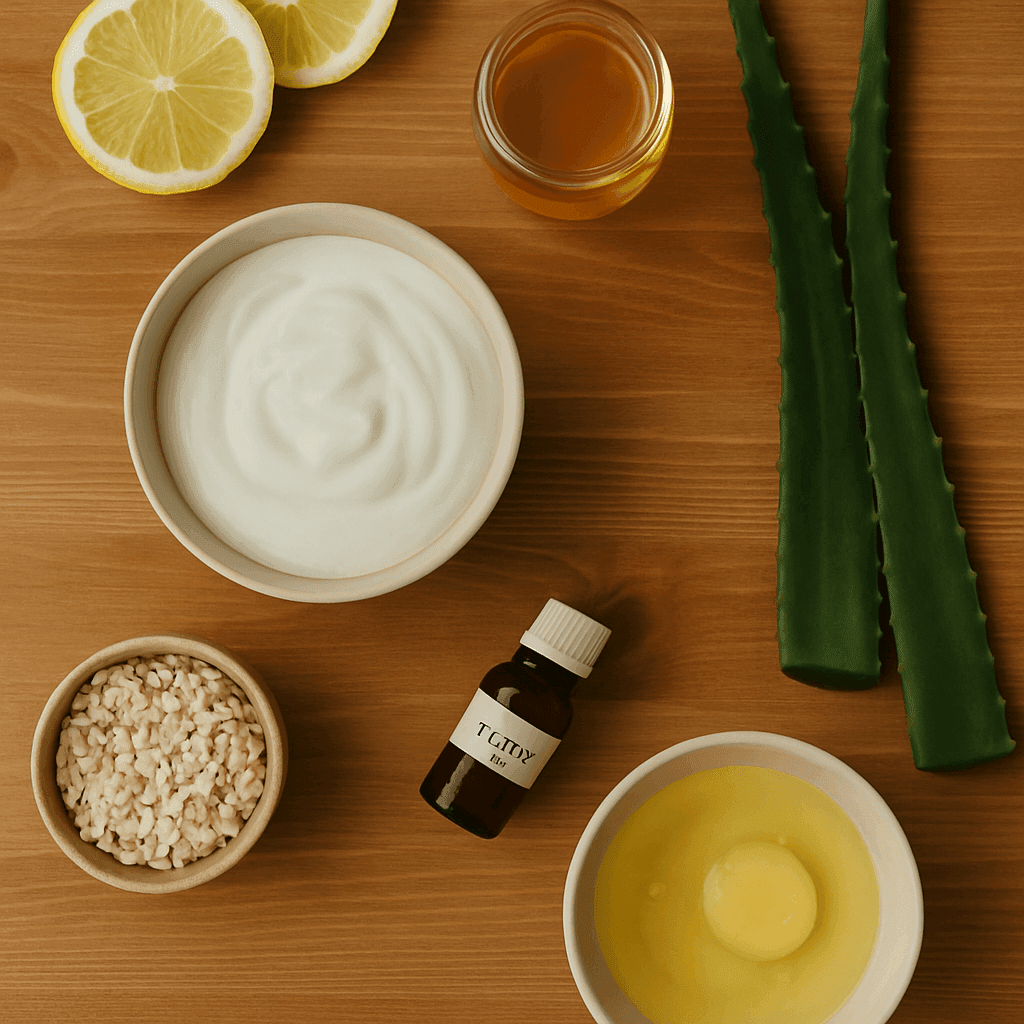
🥚 Egg Whites – They work wonders for tightening skin and minimizing the look of large pores. Plus, they’re a natural way to control shine.
Homemade Face Masks Recipes
Here are some simple Homemade face masks you can whip up using the ingredients mentioned earlier. Just follow the steps carefully, and keep in mind how each mask benefits oily skin:
Lemon and Honey Mask:
- Ingredients: 1 tablespoon raw honey, 1 teaspoon fresh lemon juice. (Optional: a pinch of turmeric for extra brightness.)
- Steps: In a small bowl, blend the honey and lemon juice until you have a smooth paste. Start with a clean face—wash and pat it dry. Apply the mask evenly, steering clear of your eyes. Let it sit for 10–15 minutes, then rinse off with lukewarm water and gently pat your skin dry.
- How it helps: The citric acid in lemon acts as a natural astringent, helping to tighten pores and slough off dead skin cells, while honey’s antibacterial properties tackle acne-causing bacteria and keep your skin hydrated. This duo can help cut down on excess oil and brighten your complexion.
- Tip: Always use fresh lemon juice. If your skin is sensitive, consider using less lemon (or dilute it) and reduce the mask time. Don’t forget to moisturize afterward to keep your skin hydrated.
Yogurt and Oatmeal Mask:
- Ingredients: 2 tablespoons plain yogurt (unsweetened), 1 tablespoon finely ground oatmeal.
- Steps: Combine the yogurt and ground oatmeal until you get a nice paste. Apply it to your freshly cleansed face and gently massage for about a minute to exfoliate. Let it sit for 10–12 minutes before rinsing off. Pat your skin dry afterward.
- How it helps: Yogurt’s lactic acid gently breaks down dead skin cells and soothes irritation, while oatmeal absorbs excess oil and calms inflammation. Together, they leave your skin feeling smooth and less oily.
- Tip: If you want an extra antibacterial boost, add a drop of tea tree oil (mix it into the mask, about 1 drop per teaspoon of yogurt). Make sure to use fine oatmeal (colloidal) to avoid a gritty texture.
Aloe Vera and Tea Tree Oil Mask:
- Ingredients: 2 tablespoons pure aloe vera gel, 2–3 drops tea tree essential oil.
- Steps: In a bowl, mix the aloe gel with the tea tree oil until well combined. Apply a thin layer to your dry face and kick back for about 10 minutes. Rinse off with cool water and gently pat your skin dry. Don’t forget to follow up with a light moisturizer!
- How it helps: Aloe vera is a superstar at soothing and balancing your skin, providing moisture without clogging those precious pores. Meanwhile, tea tree oil packs a punch with its antimicrobial properties, helping to reduce acne-causing bacteria and inflammation. This mask is perfect for refreshing oily skin and calming any redness.
- Tip: Make sure to mix the tea tree oil thoroughly into the aloe gel. If you experience any tingling or burning, rinse it off right away (tea tree oil can be potent!). You can leave this mask on a bit longer (up to 15 minutes) if your skin tolerates it well, but keep an eye out for any dryness.
Egg White and Lemon Juice Mask:
- Ingredients: 1 egg white (from one large egg), 1 teaspoon fresh lemon juice.
- Steps: Start by separating the egg white from the yolk (save that yolk for a tasty dish!). Whisk the egg white until it’s slightly foamy, then stir in the lemon juice. Carefully apply it to your face (keeping your eyes closed, of course). Let it dry for 10–15 minutes – you’ll feel it tightening up. Rinse it off thoroughly with warm water and gently pat your skin dry.
- How it helps: The protein in egg whites tightens and firms your skin as it dries, giving the appearance of smaller pores. The lemon juice adds an extra boost for oil control and brightening. Together, they work to mattify your skin and reduce shine.
- Tip: Be careful not to get this mask in your eyes (ouch!). Make sure to wash it off completely. If it feels too drying, cut back on the time. Always follow up with a soothing moisturizer (but steer clear of heavy creams).
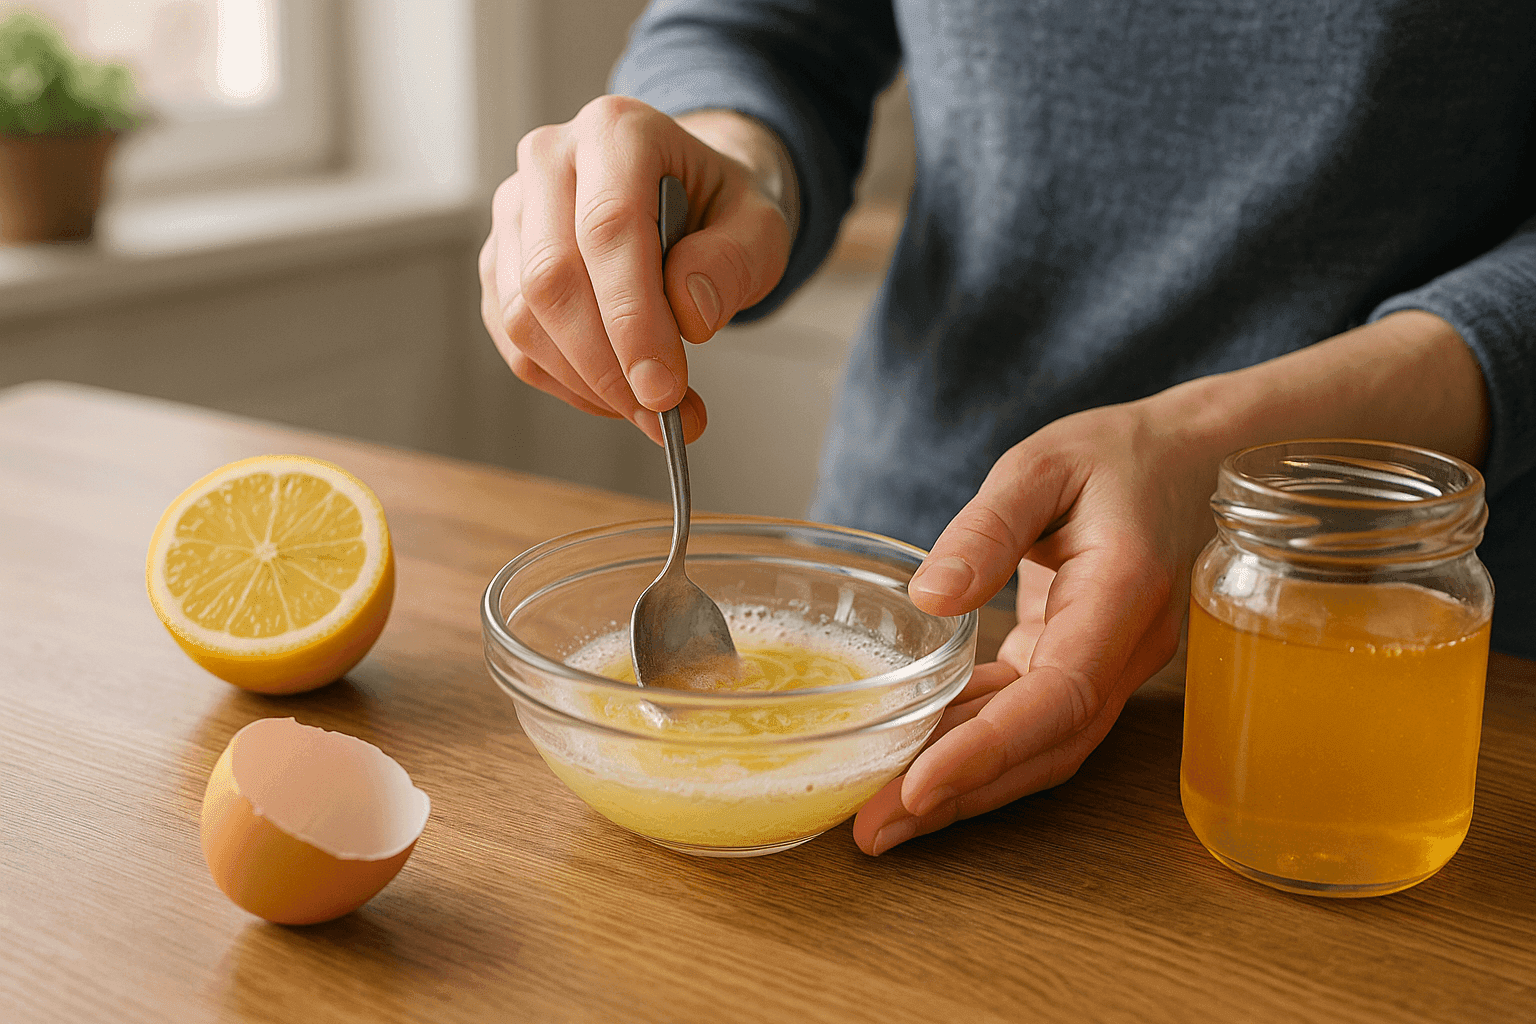
Each of these masks should be applied to clean skin. Always focus on problem areas (like the T-zone) and avoid any irritated spots. Use caution with lemon juice if you have very sensitive skin: it can make skin more sensitive to sunlight.
How to Use Homemade Face Masks Safely
When it comes to homemade Face masks, safety should always come first. Start by doing a patch test with any new mask: just dab a small amount on your inner forearm or behind your ear and wait for 24 hours to see if there’s any redness or itching. If you notice any irritation, skip using that mask on your face.
- Frequency: Stick to using face masks just 1–2 times a week. Homemade masks can be quite strong, and using them too often or leaving them on for too long can dry out or irritate your skin. Generally, aim to keep a mask on for no more than 10–15 minutes. If you have particularly oily skin, twice a week is usually sufficient. For lighter maintenance, once a week is just fine
- Skin Prep: Always begin with a clean slate. Gently wash or wipe your face to get rid of makeup and excess oil before applying any mask. This helps the mask work its magic more effectively. You might even want to steam your face with warm water first to open up those pores (just be careful not to burn yourself).
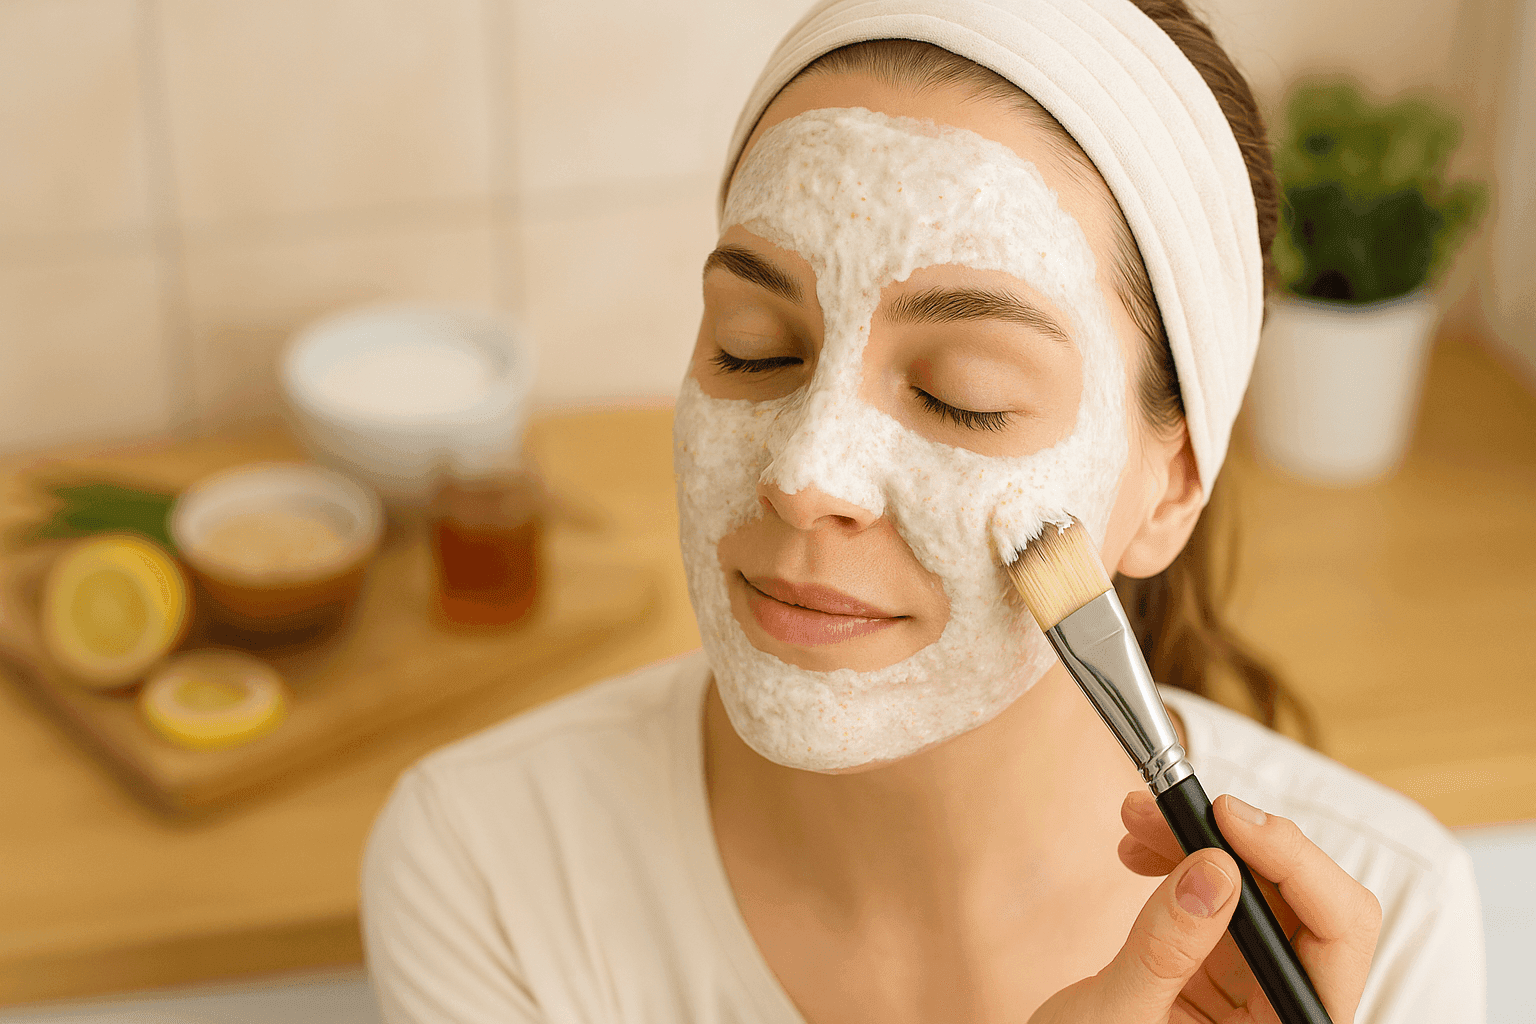
- Application: Use clean hands or a brush to apply the mask, steering clear of the sensitive eye area. Spread a thin, even layer across your face. If the mask starts to feel too tight or uncomfortable, don’t hesitate to rinse it off early.
- Aftercare: Rinse off the mask with lukewarm water and gently pat your skin dry. Avoid scrubbing – just let the water do its job. Right after, apply a light, oil-free moisturizer to help rehydrate your skin. Even if you have oily skin, a non-greasy moisturizer can help prevent your skin from overproducing oil. If your mask contains lemon or any acids, steer clear of direct sunlight afterward, or make sure to wear sunscreen, as acids can make your skin more sensitive to the sun.
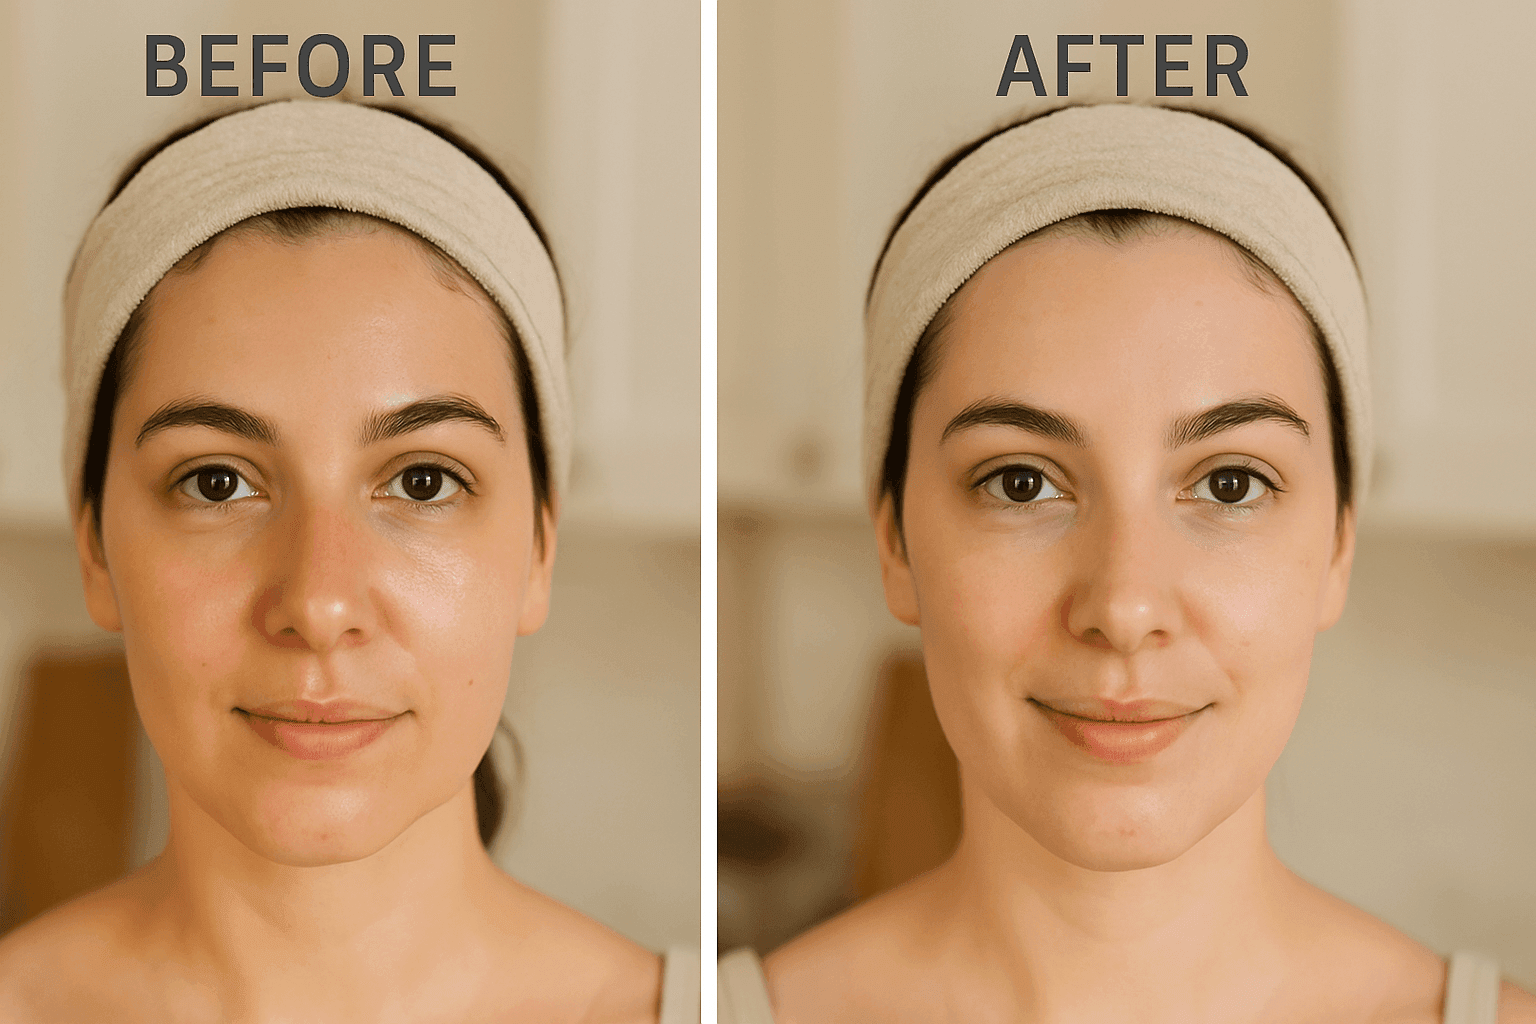
By following these simple guidelines – patch testing, limiting how often you use masks, and moisturizing afterward – you can make sure that your mask routine does more good than harm.
Tips to Control Oily Skin Beyond Masks
Masks are just one part of managing oily skin. Here are daily habits and lifestyle tips that help control excess oil:
🧼 Cleanse twice daily – Use a gentle, oil-free face wash to keep skin clear without over-drying.
💄 Avoid heavy makeup – Choose non-comedogenic, oil-free makeup to prevent clogged pores.
🥗 Watch your diet – Stay hydrated and reduce fried, sugary foods to help balance oil levels.
🌞 Use sunscreen – Always apply an oil-free SPF to protect your skin without adding shine
Common Mistakes to Avoid
Many people try homemade face masks but make mistakes that irritate their skin. Watch out for these pitfalls:
🚿 Over-washing – Stripping too much oil causes your skin to produce more sebum.
🧽 Harsh scrubs – Abrasive exfoliants can irritate and inflame oily skin.
⏳ Leaving masks on too long – Stick to 10–15 minutes max to avoid dryness or sensitivity.
🧪 Mixing too many actives – Combining too many ingredients can overwhelm the skin barrier.
By avoiding these mistakes, you’ll get the benefits of your face masks without the negative side effects.
FAQs
Q: Do homemade face masks help with acne?
Homemade face masks can be beneficial for mild acne since ingredients like honey, tea tree oil, and lemon have antibacterial properties that can help reduce surface oil. However, if you’re dealing with severe or cystic acne, it’s best to seek professional treatment. Think of these masks as a gentle aid – they can soothe inflammation and help clear pores, but they’re not a guaranteed fix for serious acne.
Q: How often should I apply these masks?
Generally, using them 1–2 times a week is ideal. As mentioned earlier, leaving a mask on for too long or using it too often can irritate your skin. If you find a mask is too drying, consider cutting back to once a week or reducing the time you leave it on. Consistency is key, so it’s better to use them regularly than to overdo it.
Q: Are kitchen ingredients safe for sensitive skin?
It really depends. While natural ingredients can be great, they can also irritate sensitive skin. For instance, undiluted lemon juice or vinegar might sting and cause redness. Always do a patch test first. Some people find that gentle ingredients like yogurt or aloe work well, even on sensitive skin, but everyone’s skin is different. If your skin is very reactive, it’s wise to be cautious or avoid the more acidic masks altogether.
Q: Can I store leftover mask mixes?
Most homemade masks are best when made fresh. Without preservatives, they can grow bacteria or lose their effectiveness. You can refrigerate some (like aloe gel masks or yogurt masks) for a day or two in a clean jar, but it’s safest to whip up small batches each time. Honey can last indefinitely on its own, but once mixed with water-based ingredients, it’s best to use it quickly.
Q: What if my skin feels dry after a mask?
If your skin feels dry, it likely means the mask was too strong or left on for too long. In that case, make sure to moisturize afterward with a gentle lotion or gel. Next time, try using less of the active ingredient (like more honey and less lemon) or shorten the mask duration. Sometimes, our skin just needs a little time to adjust, so avoid overdoing it.
Q: Can men use these masks too?
Absolutely, men can definitely use these masks too! Skin care knows no gender boundaries. Just like women, men can enjoy the benefits of these homemade masks. However, a little caution is advised if you’ve just shaved—it’s best to steer clear of masks right before shaving, as some ingredients might irritate freshly shaved skin. Make sure to rinse well before you shave or wait a few hours after shaving to avoid any discomfort. Other than that, these masks are great for all skin types and genders.
Conclusion
Natural masks made from kitchen ingredients can be a gentle yet effective way to tackle oily skin and mild acne. Ingredients like lemon, honey, yogurt, aloe, oatmeal, and tea tree oil offer antibacterial, astringent, and soothing benefits right from your pantry. When used properly and consistently, these masks can help absorb excess oil, keep your pores clear, and leave your skin feeling smooth and balanced. Just remember: consistency and patience are essential—these remedies take time to show results, so don’t expect miracles overnight. Pair your mask routine with good daily habits like gentle cleansing, using an oil-free moisturizer, and maintaining a healthy diet for the best outcomes.
If you’re doing everything right and still facing stubborn breakouts or irritation, it might be a good idea to see a dermatologist. A skin expert can help identify any underlying issues, like hormonal acne, and recommend treatments that work well with your natural care routine. In the meantime, enjoy the process of treating your skin with these simple homemade remedies—your future complexion will definitely appreciate it!


