How to Remove Hair Dye: Simple and Effective Methods
Introduction
Dealing with unwanted hair color can feel like a total disaster. Maybe you accidentally picked the wrong box dye, or perhaps the color faded into something unexpected. Suddenly, your hair looks nothing like you envisioned, and you’re eager to get rid of that color—fast. The problem is, hair dye isn’t easy to remove. Color molecules bond into the hair shaft, and strong chemicals can damage your locks. You might be frustrated, worried your hair will break, or wondering if you have to chop it all off.
But there’s hope. In this post, we’ll dive into why removing hair dye can be such a challenge and how to do it safely. We’ll break down the different types of dye (since each one behaves a bit differently), and share some practical at-home solutions (like using clarifying shampoo, baking soda treatments, vitamin C packs, and oil masks). We’ll also touch on professional options and how to care for your hair after removal. By the time you finish reading, you’ll have a solid plan to fade that color without damaging your hair.
What you’ll learn: Why some dyes stick harder, a step-by-step guide for each DIY method, when it’s best to consult a stylist, and tips for keeping your hair healthy throughout the process. Plus, we’ll answer common questions like whether a single wash can do the trick and how to tackle dye stains on your skin. Let’s work through this hair color dilemma together!
Understanding Hair Dye and How It Works
Hair dye comes in three main categories, and each affects hair differently:
Temporary Dye:
This type simply coats the outer layer of the hair shaft. Think of it like paint for your hair, and it typically washes out in just one shampoo or a few washes. You know those hair makeup sprays or color tubes that rinse away easily? That’s temporary dye for you! Since it only sits on the surface, it’s the easiest to remove.
Semi-Permanent Dye:
This type seeps into the outer layers of your hair without the harsh chemicals or developers. It adds a nice pop of color and shine, typically lasting around 6 to 8 weeks with regular washing. While semi-permanent dyes won’t lighten your natural hair, they do stick around in the hair cuticle. They gradually fade over about 15 to 20 washes, so if you’re patient, you can often help them fade at home. Plus, since there’s no bleach or ammonia involved, semi-permanent color is much gentler on your hair.
Permanent Dye:
This one is the most stubborn to get rid of. Permanent color uses a developer, usually peroxide, which opens up the hair cuticle and deposits dye deep inside the hair shaft. Once it’s in there, it’s not going anywhere on its own—you’ll notice this when your roots start to show your natural color. While it’s fantastic for achieving long-lasting, vibrant hues, the strong chemical process makes it tough to remove. As one source points out, permanent dye “won’t lift natural pigment” but will deeply open the cuticle. So, to remove it, you’ll need something nearly as powerful as what put it there in the first place.
Why Some Dyes Are Harder to Remove
When it comes to hair dye, temporary and semi-permanent options are generally easier to wash out with gentle techniques. These dyes sit closer to the surface of your hair and have weaker bonds. On the other hand, permanent dyes are the toughest to deal with because the color is locked in beneath the cuticle, thanks to the developer. Even among permanent dyes, darker shades like black or blue can be particularly tricky. Hair-care professionals point out that how easily you can remove the dye depends on the type of dye used, how fresh it is, and the condition of your hair. A newly applied permanent dye is at its strongest, while color that’s been in for a few weeks might have started to fade a bit. If you have low-porosity hair, which has a very smooth cuticle, it may hold onto dye more tightly than high-porosity hair does.
Understanding these differences can help you set realistic expectations. If you’ve used a temporary color, a few washes or a clarifying treatment might do the job. But if you’ve
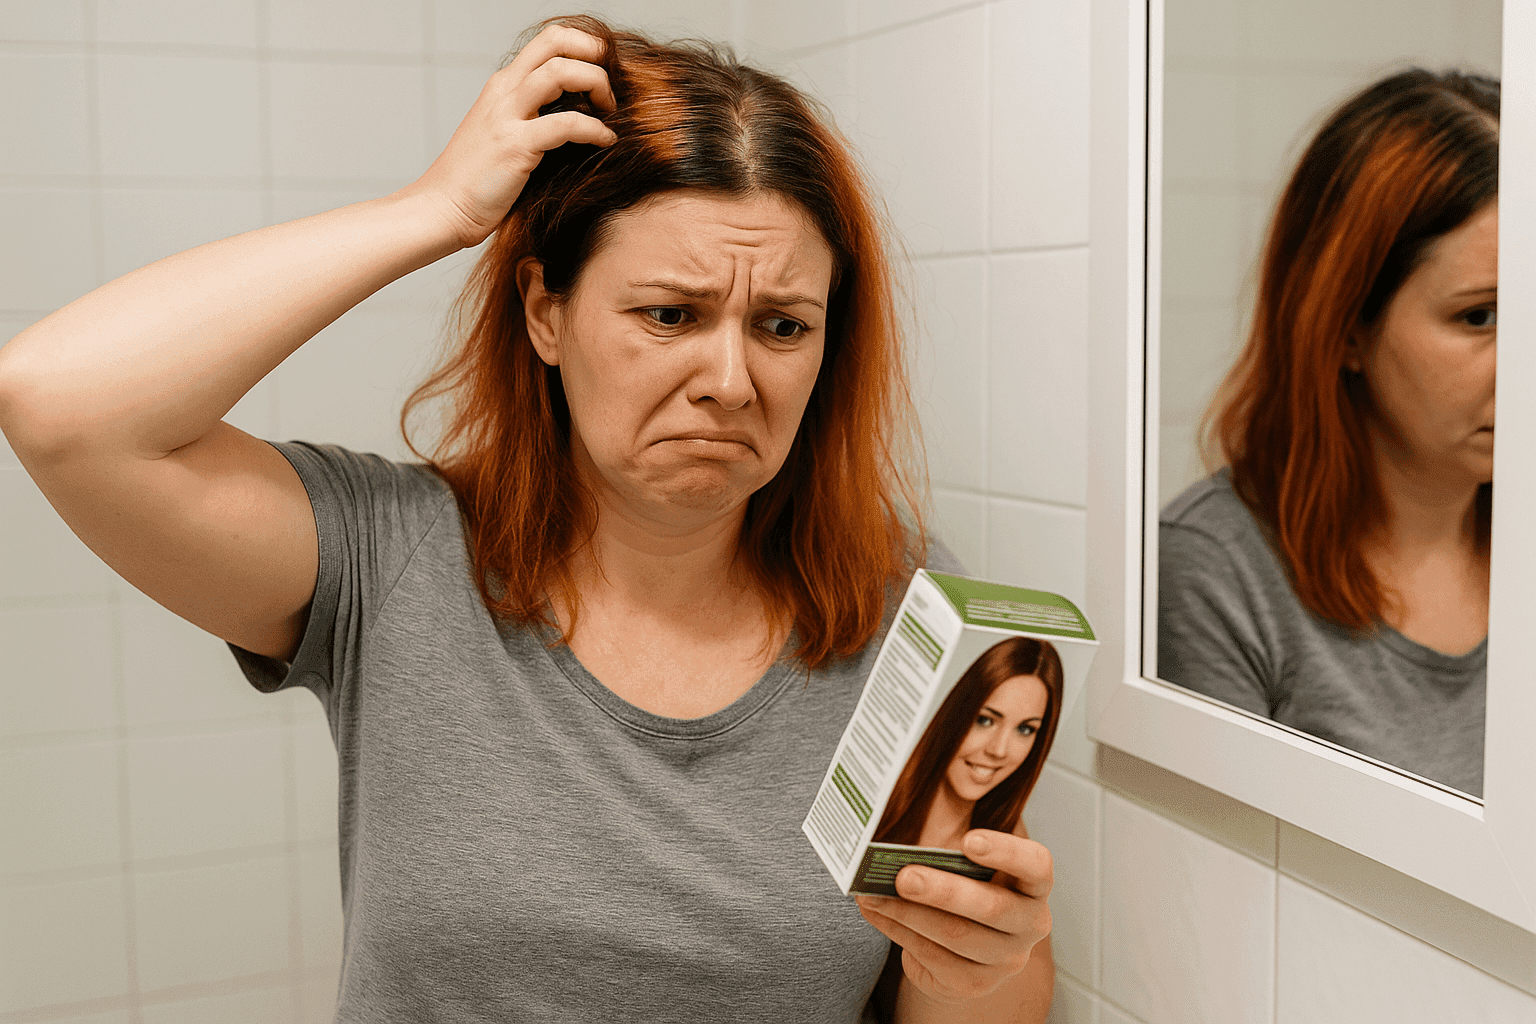
slathered on a box of jet-black permanent dye over bleached hair, you’re in for a tougher battle—consider seeking professional help or using a strong remover. Next, let’s explore some safe DIY methods for fading or removing dye that you can try at home.
Safe At-Home Methods to Remove Hair Dye
You don’t need a chemistry degree to safely fade or remove unwanted hair color. These DIY methods use everyday items, and when applied correctly, they can significantly lighten the dye without damaging your hair.
Using Clarifying Shampoo
What is clarifying shampoo?
Well, it’s a powerful cleaning formula packed with strong detergents and a higher pH than your regular shampoo. Its main job is to get rid of buildup from oils, styling products, hard water minerals, and yes, even some hair color. By slightly opening up the hair cuticle and washing away any trapped residue, it can also help lighten dye. Think of it as a “reset button” for your hair.
How it helps fade dye: Clarifying shampoo works by lowering the hair’s pH and using surfactants to lift out deposits. This intense cleaning can “open the cuticle and let color molecules escape,” effectively washing away some of the pigment. In simpler terms, that means some of the dye you applied can be rinsed out with clarifying shampoo. However, don’t expect it to wipe out all the color in one wash – it’s more of a gradual process. According to a hair industry blog, you might need to wash your hair with clarifying shampoo up to five times to see a noticeable difference with semi-permanent color. As for permanent dyes, they may only fade a shade or two at most; the deep color tends to stick around.
How to use (step-by-step):
- Wet hair with warm water: The warmth helps to slightly open up the cuticle, which allows the shampoo to penetrate deeper.
- Apply clarifying shampoo generously: Look for one labeled “clarifying” at your local beauty store, and make sure to lather it well from your roots all the way to the ends.
- Massage and wait: Work that lather into your hair for about 5 to 10 minutes, giving it a good massage. For an extra boost, pop on a shower cap—the steam will help lift the cuticle. Some DIY guides even recommend spending 10 minutes under the cap to really let the warmth do its magic.
- Rinse and repeat as needed: Use warm water to rinse out the shampoo. If you notice colored water still coming out, you might want to do a second wash. Some folks like to rinse out the clarifying shampoo with a diluted apple cider vinegar solution to help close the cuticle afterward.
- Condition thoroughly: Since clarifying shampoo can be a bit harsh and may dry out your hair, it’s important to follow up with a rich conditioner or a hair mask to bring back that moisture.
Tips for best results:
- Frequency: Limit your use of clarifying shampoo to about once a week at most. Its strength can dry out your hair, and overusing it might lead to premature fading and breakage.
- Check the label: Steer clear of shampoos labeled “color-safe” when you’re trying to fade color. These products are designed to hold onto pigment, which is the opposite of what you want.
- Be patient: Clarifying shampoo doesn’t work overnight. One tester found that it took 15 washes to see just a slight change in shade. So, hang in there and give it a few washes before you decide to throw in the towel.
- Monitor hair condition: If your hair starts feeling like straw or if the color looks patchy, take a break. You can always switch to a gentler method if needed.
Applying Baking Soda and Anti-Dandruff Shampoo
Why this combo works?
Baking soda, or sodium bicarbonate, is a gritty, alkaline powder that can effectively scrub away product buildup and lift color. Anti-dandruff shampoos often have powerful cleansing agents, like zinc pyrithione or sulfur compounds, that help break down dye residue. When you combine these two, you get a potent DIY fade treatment. The baking soda’s abrasiveness, paired with the shampoo’s deep-cleaning properties, helps to “exfoliate” the hair shaft and wash out unwanted color.
Instructions (step-by-step):
- Mix the solution. In a bowl, combine equal parts of baking soda and an anti-dandruff shampoo (like Head & Shoulders). For instance, 2 tablespoons of each should be enough for shoulder-length hair. Aim for a paste-like consistency.
- Wet your hair. Start with clean, damp hair.
- Apply thoroughly. Work the baking soda/shampoo paste into your hair from scalp to ends. Use your fingers or a brush to ensure even coverage.
- Massage and wait. Gently scrub the scalp and hair for a minute. Then let the mixture sit on your hair for about 5–10 minutes. (Some guides say as little as 5 minutes, others up to 20.) Keep an eye on your scalp; baking soda can irritate sensitive skin, so avoid your eyes and don’t leave it on too long.
- Rinse well. Use warm water to rinse out the mixture until the water runs clear of foam and color.
- Deep-condition. Follow up with a rich conditioner or hair mask. Baking soda can leave your hair feeling very dry and stripped of its natural oils, so it’s important to rehydrate right away.
How often to repeat: This method can be quite harsh, so it’s best not to overdo it. Applying it once every few days (like after every 2-3 regular washes) is usually sufficient. Many people notice improvements after a few applications. For safety, test it on a small strand first to check for any breakage or scalp reactions. If your hair is already damaged, you might want to skip this method or use it very sparingly.
Safety notes: Using too much baking soda can really rough up your hair cuticle and strip away those natural oils. It might even lighten your hair more than you want or make dyed hair look brassy if the mixture is too strong. This method “is not for everyone,” so it’s a good idea to do a patch test and steer clear of your scalp. Always follow up with a deep conditioning treatment.
Using Vitamin C Treatment
How it works: Vitamin C (ascorbic acid) can serve as a gentle bleaching agent. It’s believed to lighten hair dye by oxidizing or reducing the pigment molecules. In practice, folks often crush Vitamin C tablets (or use Vitamin C powder) to mix with shampoo, creating a DIY dye remover. The acidity of the vitamin helps to “break down” the artificial color a bit, much like how lemon juice can lighten hair in the sun. While it won’t bring back your natural color exactly, it can help fade unwanted dye by a shade or two.
Preparing and applying:
- Crush Vitamin C tablets. You’ll need quite a bit – Healthline suggests about 15–30 white, uncoated tablets for medium-length hair. The more intense the color or longer the hair, the more tablets (or grams of ascorbic acid powder) you need.
- Mix with shampoo. Combine the crushed Vitamin C with dye-free clarifying shampoo to form a thick paste. Use clarifying shampoo to add extra cleaning power. Avoid colored or scented shampoos, as dyes or additives can interfere.
- Apply to hair. Spread the paste evenly through damp hair, focusing on the parts you want to fade. Start at the roots and work your way down.
- Cover and wait. Put on a shower cap and let it sit for 30–60 minutes. Some light and gentle heat (like sitting in a warm room) can boost the effect, but avoid intense sun exposure, which can worsen dryness.
- Rinse and condition. Rinse with warm water. Follow with a hydrating conditioner or mask to offset drying.
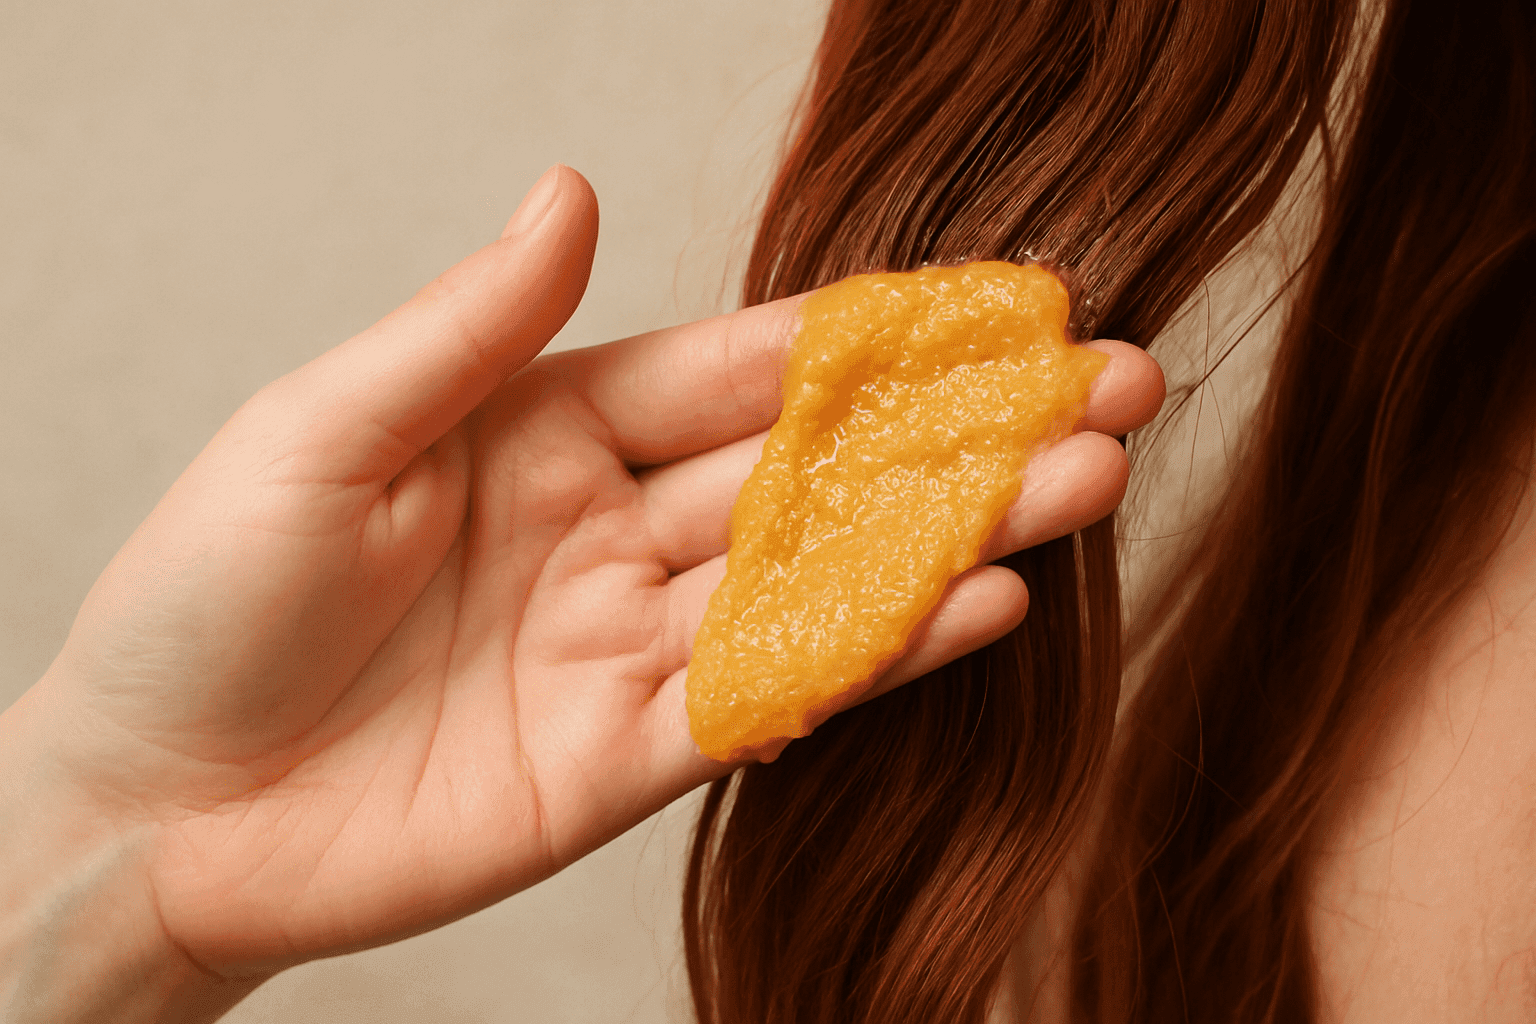
Effects on different hair types: When it comes to different hair types, Vitamin C treatments are generally milder than chemical options, but the results can really vary. They tend to work best on semi-permanent dyes and lighter shades. According to Healthline, there’s no promise you’ll return to your original color; at most, your hair might lighten by a shade or two. If your hair is quite damaged, heavily processed, or naturally dark and coarse, you might not see much difference at all. For instance, one beauty site reported that even after taking 30 tablets, there was “little to no lift” observed. So, be prepared for a gradual fading process—often, you’ll need several applications (maybe once a week) to notice any significant lightening.
Caution: Vitamin C is natural, but it’s still an acid treatment. Possible side effects can include scalp irritation, dryness, or uneven color. It’s a good idea to use a quality conditioner afterward and keep an eye on how your hair feels. If you start to notice excessive dryness or any yellow/orange tones popping up, it’s best to halt the treatment.
Oil Treatments
What oils to use?
Popular options include coconut oil, olive oil, argan oil, or even jojoba oil. These natural oils are fantastic for deep conditioning. A hot or warm oil treatment is a tried-and-true home remedy that not only nourishes your hair but can also help fade color.
How oils can loosen dye molecules?
While oils won’t bleach your hair, they can dissolve some of the dye molecules that are stuck in the hair shaft. A hair care guide mentions that coconut and olive oil can effectively “lift excess dye,” especially from semi- and demi-permanent colors. In simple terms, these oils penetrate the hair and bond with the dye. Over time, especially with a bit of gentle heat, they can help wash out some of the dye when you rinse them out. Plus, they hydrate and smooth your hair, which helps counteract the dryness that other treatments might cause. So, using an oil mask can not only fade color but also protect your strands.
Application process (step-by-step):
- Warm the oil: Start by heating 3–4 tablespoons of your favorite oil (or a blend of oils). You want it to be warm, not scalding—so be sure to test it out carefully.
- Apply to dry hair: Gently work the warm oil through your dry hair, focusing on the dyed areas, especially the roots and ends. Take your time to massage it in.
- Let it soak. Put on a shower cap and let the oil sit in your hair for 1–2 hours, or even overnight for the best results. The cap helps keep things tidy and traps in heat.
- Rinse and shampoo. Rinse your hair with warm water, then follow up with a shampoo (a clarifying shampoo works wonders here) to wash out the oil and any loosened dye.
- Repeat often. For gradual fading, repeat 2–3 times per week until you see desired results.
Hot oil variation: If you want to amp things up, try a hot oil treatment: heat about ¼ cup of oil to just above body temperature, apply it to your hair, and then wrap a warm towel around your head for 30–60 minutes. This added heat helps the oil penetrate deeper into the hair shaft, speeding up the dye removal process while also strengthening your hair. Experts suggest doing a hot oil treatment once a week if your hair is particularly dry, as it conditions while it works.
What to expect: Oil treatments are gentle, so patience is key. You probably won’t notice a dramatic color change after just one session unless your dye was already quite faded. Oils are most effective on semi-permanent and demi-permanent dyes, and they’ll only slightly loosen stubborn permanent dyes over time. The best part? They won’t damage your hair like bleach or harsh chemicals can. Fabulive points out that oils can fade color “without causing hair damage.” After each oil treatment, your hair will feel softer and shinier than with any other method.
Professional Hair Dye Removal Options
Color Remover Products
What they are?
Over-the-counter color removers, often referred to as color “erasers” or “strippers,” are specially designed chemicals that help eliminate artificial hair dye. They work by using reducing agents, like sodium hydrosulfite or persulfates, to break down large dye molecules into smaller fragments that can be easily washed away. Unlike bleach, these products won’t lift your natural hair color; they focus solely on the artificial hues.
How they work?
Imagine hair dye color molecules as oversized Lego blocks. The chemicals in a color remover target the bonds holding those blocks together, breaking them down into smaller pieces that can simply fall out. Beauty experts highlight that many products, such as Wella Color Remover or L’Oréal Effasol, utilize ingredients like potassium persulfate or hydrosulfite for this purpose. A popular option, “Color Oops,” combines hydrosulfite and citric acid, claiming to reverse the oxidation process of permanent dye. Typically, these removers come as a multi-part system that you mix together and apply just like a salon treatment.
Choosing and using a product
There’s a range of products available, each varying in strength and designed for different types of dye. Some removers are meant for semi-permanent colors only, while others can handle permanent shades. Always make sure to read the labels carefully. If you decide to use a kit, stick to the instructions: mix the components, apply it to your hair like you would with regular dye (don’t forget the gloves!), and let it sit for the recommended time. Rinse thoroughly and follow up with a good conditioner.
Safety and precautions: While color removers are generally less damaging than bleach, they’re not entirely without risks. Most contain persulfates and sometimes ammonia, which can still dry out your hair and scalp. Salon professionals suggest that they don’t structurally damage your hair (your natural color remains intact), but you might experience side effects like dryness and frizz, especially if your hair is already compromised. To reduce risks, always do a strand and skin test first. Follow all safety precautions (like wearing gloves and ensuring good ventilation) and never leave the product on longer than recommended. After using a color remover, it’s essential to deep-condition your hair.
Results to expect: Over-the-counter removers can significantly lighten or even eliminate permanent dye when used properly. Beauty blogs often mention that they can brighten your hair by several shades in just one application. However, the outcome really hinges on factors like your hair’s porosity, the intensity of the shade, and the specific chemistry of the product you’re using. Just a heads up: color removers are effective only on oxidative dyes and won’t touch direct semi-permanent dyes (think Manic Panic or temporary washes). Plus, tackling very dark colors like black or red can be quite a challenge; even the pros sometimes find it tough to get them out completely.
Salon Treatments
What to expect?
If your DIY attempts don’t work out or your hair is heavily dyed or damaged, heading to a salon is your best bet. During a professional color correction appointment, a stylist will start with a consultation and often perform a test strand. They have access to specialized tools and products that you won’t find in stores. According to hair experts, salon formulas can be tailored to meet your hair’s specific needs. Stylists might mix different removers, use a bleach wash, apply bond-rebuilding treatments (like Olaplex), or tone your hair at the end to eliminate any brassiness.
Common techniques:
- Professional Color Remover: They might use stronger, multi-step remover kits designed specifically for salon use, often containing persulfates in a controlled system along with a conditioner.
- Bleach Bath (Bleach Wash): This is a diluted bleach solution used to lift color gradually. It’s less damaging than full-bleach but still opens the cuticle to remove pigment. This can be done cautiously by a stylist.
- Toners/Glosses: After removal or lightening, stylists often apply a toner or gloss to neutralize any unwanted tones and make the color even.
- Deep Repair Treatments: Pro stylists will likely use bond repair treatments (e.g., Olaplex) and deep conditioners to strengthen hair throughout the process.
When to go pro?
Especially if you have:
- Very dark or black box dye (these are hardest to remove at home)
- Hair that’s already very dry, brittle, or porous,
- Multiple overlapping dyes or a botched salon job,
- If you simply don’t want to gamble with DIY chemistry.
Professionals will give you a clear picture of what’s achievable. While you might not get back your exact “original hair color,” a skilled salon can definitely help improve your situation safely.
Care After Hair Dye Removal
Once you’ve gone through any color-removal process, your hair will likely need some extra love. Removing dye—especially with strong shampoos, baking soda, or color removers—can dry out your hair cuticles and strip away natural oils. Without proper care, your hair might end up brittle, frizzy, or porous. Here’s how to bring back its health:
- Deep Conditioning: After every removal treatment, use a rich conditioner or deep mask. Experts like Salon Haze emphasize the importance of deep conditioning to “replenish moisture” post-removal. Look for conditioners designed for damaged or color-treated hair. Leave-in conditioners can also be beneficial.
- Gentle Shampoos: After your treatment, switch to a hydrating, color-safe shampoo and conditioner. For a while, steer clear of clarifying or sulfate shampoos, as you want to keep moisture and any remaining color intact. Many stylists recommend sulfate-free, protein-enriched shampoos (like Olaplex No.5 or similar) to help rebuild hair bonds.
- Limit Heat and Chemicals: Give your hair a break. Avoid heat styling tools (like blow-dryers and straighteners) and any harsh chemical treatments (like relaxers or perms) until your hair has had a chance to recover. If you must use heat, always apply a heat-protectant spray first.
- Trim if Needed: If the ends of your hair feel dry or look split, a small trim can help prevent further breakage.
- Hair Masks and Oils: Make it a habit to use weekly deep-conditioning masks (with ingredients like keratin, avocado, honey, etc.) and occasional nourishing oil treatments to replenish lipids. A weekly hot oil mask can work wonders for restoring shine and strength.
- Protect from Elements: When it comes to protecting your hair from the elements, it’s important to remember that UV rays, chlorine, and hard water can really take a toll on already fragile strands. So, don’t forget to wear a hat when the sun is blazing and give your hair a good rinse after swimming.
Following these steps will help “minimize any potential damage” from dye removers. Remember, the goal is to fade color safely, so hydration is key. By repairing and soothing your hair after color removal, you’ll keep it looking and feeling healthy.
Signs You Should Avoid DIY Removal
Sometimes the safest choice is NOT to DIY. Consider professional help if:
- Hair is severely damaged: If your hair is already very dry, brittle, or breaking off, adding a harsh remover could snap strands. Salon Haze points out that removers can cause dryness or breakage especially if hair was over-processed
- Multiple chemical processes: If you’ve bleached, relaxed, permed, or straightened your hair recently, it’s compromised. These processes already stress hair – another at-home chemical treatment could trigger major breakage.
- Extremely dark or intense color: Colors like jet-black, very dark brown, or bold unnatural shades can be tough to remove. Box dye reds and blacks, in particular, might need several salon visits to get rid of completely. As one expert points out, even professional colorists can struggle to remove all the pigment in one session. A DIY approach might leave you with patchy results or damaged hair.
- Irritated or sensitive scalp: If your scalp burns or tingles intensely during a DIY process (like baking soda or vitamin C), rinse immediately. Significant irritation or allergic reaction is a sign to stop. Products like acetone (nail polish remover) or even heavy shampoos are unsafe on broken skin.
- Time/Patience Constraints: When it comes to DIY fading, patience is key. It often requires multiple washes or treatments, so if you’re in a hurry—say, for a special event this weekend—it’s probably best to leave it to the professionals instead of risking a hasty at-home job.
In short, trust your instincts. If a hair method sounds too harsh, like bleach baths or DIY color strippers, and you’re feeling uncertain about your hair’s health, don’t hesitate to seek advice from a salon. Professional stylists can usually recommend gentler ways to correct color while keeping your hair safe. As one expert puts it, the best approach to color removal is one that’s tailored to your hair’s unique needs, and that’s best handled by a licensed stylist.
FAQs About Removing Hair Dye
Can I remove hair dye in one wash?
Not really. Hair dye molecules cling tightly to the strands, so even those “wash-out” dyes typically require several shampoos to fade. While using a clarifying shampoo might help lift some color in one wash, full removal usually takes multiple treatments. For instance, one DIY tester went through 15 washes with Head & Shoulders clarifying shampoo and only saw a slight change. Permanent dyes often need more than just one application of any method. Think of fading hair color as a gradual process, not a quick rinse.
Is hair dye removal safe for all hair types?
Most gentle fading methods can work on various hair types, but you need to be careful. If your hair is damaged—like dry, porous, or chemically treated—it’s more delicate and can break easily under strong treatments. Curly or coarse hair may react differently and can dry out quickly. On the other hand, fine or low-porosity hair might require stronger methods, but with extra caution. Always keep your hair’s health in mind: if it’s weak or over-processed, stick to very mild methods, like oil treatments, or consult a pro. And don’t forget, color-safe or gentle formulas are better for delicate hair, while clarifying or drying formulas can be harsher.
How long does it take for hair dye to fade naturally?
Well, it really depends on the type of dye you’re using:
- Temporary dyes wash out in 1–2 shampoos. They’re meant for quick change and don’t last beyond a couple washes.
- Semi-permanent dyes typically fade over 4–8 weeks of regular washing. They are formulated to last about 15–20 washes, so with normal shampooing, expect them to gradually disappear in about 1–2 months.
- Permanent dyes won’t really “fade” on their own except at the roots. They stay until your hair grows out or you cut it off. Repeated daily washing will eventually lighten them slightly over time, but not reliably. Without intervention, permanent color usually sticks until you chemically remove it.
Will removing hair dye damage my hair?
Any removal method can put some stress on your hair. Compared to bleach, things like clarifying shampoos and home remedies (like baking soda or oil) are gentler, but they can still dry out or roughen your strands. Salon experts say that color removers shouldn’t harm your hair’s structure, but if your hair is already damaged, you might experience dryness, frizz, or breakage. DIY methods, like using baking soda, can be a bit harsh and strip away natural oils, leaving your hair feeling coarse. On the other hand, oil treatments are the gentlest option since they add moisture back in. The trick is to balance the removal process with some good conditioning. If you pamper your hair afterward with quality conditioners and bond builders, you can keep damage to a minimum.
Can I recolor my hair immediately after removal?
Generally speaking, it’s not a good idea. After you’ve stripped or lightened your hair, it becomes quite porous and fragile. Most professionals suggest waiting at least a few days—sometimes even a week or more—before you apply any new color or bleach. This waiting period helps your hair regain some moisture and allows the cuticle to settle down. If you rush into re-dyeing very porous hair, it might soak up too much color or developer, which can lead to uneven results or even breakage. Always make sure to deep condition first! In a salon, stylists often perform a “bond-building” treatment and might use a lower developer strength for the next color application. If you really need to color your hair quickly, consider using a semi-permanent shade or a tinted conditioner instead of high-lift bleach, and keep up with heavy conditioning.
What to do if hair dye stains skin?
For skin stains (on your forehead, ears, hands), act quickly. Here are proven tips:
- Oil method: Use a cotton ball soaked in olive oil, coconut oil, baby oil, or even petroleum jelly on the stain. Rub gently for a few minutes. Oils dissolve the dye on skin without harsh scrubbing. For tough stains, leaving the oil on overnight and washing in the morning can remove nearly all the color.
- Rubbing alcohol or hand sanitizer: If oil isn’t enough, dab a bit of rubbing alcohol or alcohol-based hand sanitizer on the spot (avoid eyes!). This breaks down color quickly, but can be drying, so moisturize after.
- Baking soda and soap: Make a paste of baking soda and dish soap or hand soap. Gently scrub it on the stain for 1–2 minutes and rinse. The mild abrasion helps lift color. Use this on less sensitive skin (hands rather than face) and avoid scrubbing raw or broken skin.
- Makeup remover: Some makeup removers (especially oily ones) can dissolve dye. Apply with a cotton pad and wipe. It’s gentle on skin.
- Exfoliation: After initial cleaning, using a gentle facial scrub or cloth can remove leftover stain.
Always finish by rinsing and moisturizing the skin. Try not to panic – most dye stains will fade in a day or two naturally. These tricks just speed it up.
Conclusion
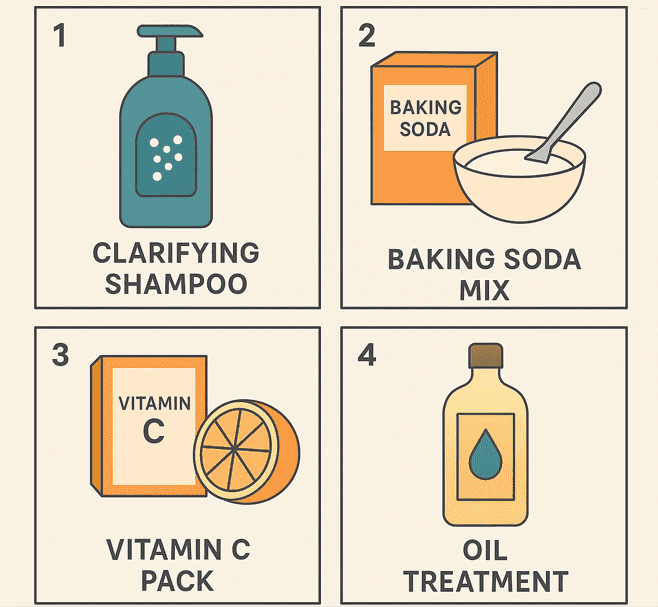
Getting rid of unwanted hair dye is definitely doable, but it requires the right strategy. We’ve found that temporary and semi-permanent colors are the easiest to lift, while permanent dye often calls for stronger methods. If you’re looking to fade it at home, consider our step-by-step solutions: clarify with shampoo, scrub with a mix of baking soda and dandruff shampoo, apply some Vitamin C, or take a nurturing approach with oil treatments. Each method has its ups and downs, but they can all help gradually tone down that unwanted color without needing to go full bleach.
For tougher cases, there are professional products and salon treatments available – color removers or a color-correction appointment can really help reset your hair if DIY isn’t cutting it. Whatever route you choose, make sure to prioritize your hair’s health. Deep condition regularly, use gentle products, and steer clear of heat styling while you work on fixing the color.
Most importantly, be patient and play it safe. Take your time and work in stages instead of trying to do it all in one day. And if you ever feel overwhelmed (like when dealing with very dark dye or fragile hair), it’s a good idea to consult a stylist. They can provide you with a realistic plan that won’t compromise your strands.
You can definitely get that color out – just stick to these straightforward, fact-based methods and take care of your hair. Good luck, and here’s to achieving happy, healthy hair in the future!
